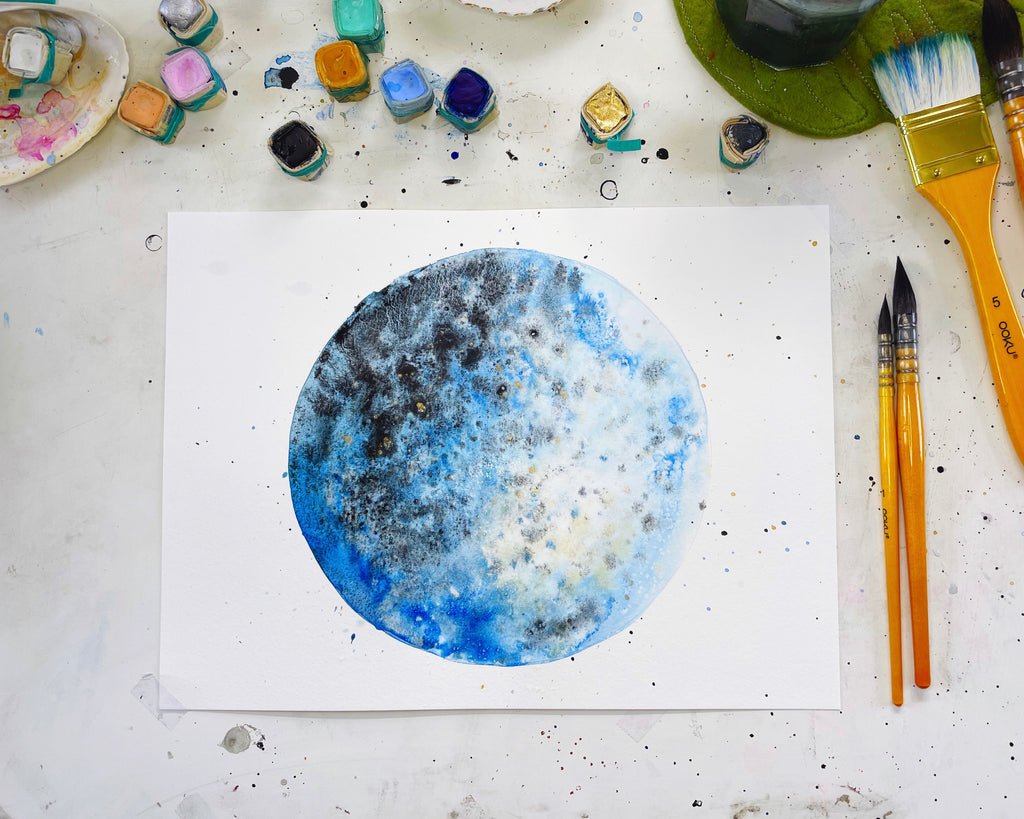
Creating this moon painting is about having fun splashing in colors and watching them bloom and layer as your moon grows. I suggest playing and doing a few moons with different color palettes - blues and blacks, pink and browns, black and white... whatever strikes your fancy.
It is a fun project you can do yourself or with your kids to create a moon artwork for your home. You could even make one as a special painting to accompany our popular moon milestone set or a starry cloud mobile.
Here's what you'll need to get started:
Water Color Paper. I used this one
Paint Brushes. I used a set similar to this set
Water Color Paints. I used this indigenous owned hand crafted brand
Another Water Color Paint Set This is my other go to set
Pencil
Plastic Circle to trace, I used a takeout container lid
Step 1. Trace circle onto watercolor paper lightly with pencil
Step 2. Paint clear water into circle filling the entire circle so it's wet which allows the paint to expand and flow once you add it.
Step 3. Mix one of your watercolor paints with water so they are very liqud, load up your brush with a color, and tap the color into the circle playfully.
Step 4. Mix another color and tap that one in. Keep repeating adding layers of color and enjoy how the color mixes and blooms.
Tips.
- If your painting gets muddy you can use paper towels to blot up excess paint.
- Also try adding a few pinches of salt at the end to absorb water and make cool textures.
- If the moon looses it's circle shape you can always cut it out using the circle template (aka your takeout top) and glue it onto a new sheet of paper.
Making your moon is about play and not about making it "right"
Have fun, tell any critics that show up to lighten up, and enjoy the process!
Let me know below how your moon turns out or share it on Instagram and tag @babyjives #babyjives so I can see!
Leave a comment